
Getting Started with PracticeRunner
A practical guide to setting up your organization, understanding the main areas of PracticeRunner, and configuring the first settings most practices need.
PracticeRunner helps therapy practices keep scheduling, intake, billing, secure communication, documentation, and follow-up work in one place. This guide walks through the basics so you can set up the first pieces your practice needs and start using the system with real clients.
1. Creating Your Organization
Getting started is meant to be straightforward.
- Sign Up: Create an account using your email. We use a secure magic link system, so you don’t need to remember another password.
- Create Organization: Upon your first login, you will be prompted to create your organization. Enter your practice name and basic details.
- Onboarding: You will be guided through a short onboarding flow to set up your initial preferences and main location.
Once completed, you will land on your new dashboard, ready to start.
For quicker access during the workday, you can also install PracticeRunner on your phone, tablet, or computer and launch it from your home screen, Dock, or taskbar.
2. Main Areas of the App
Most of your work will happen in a few main areas:
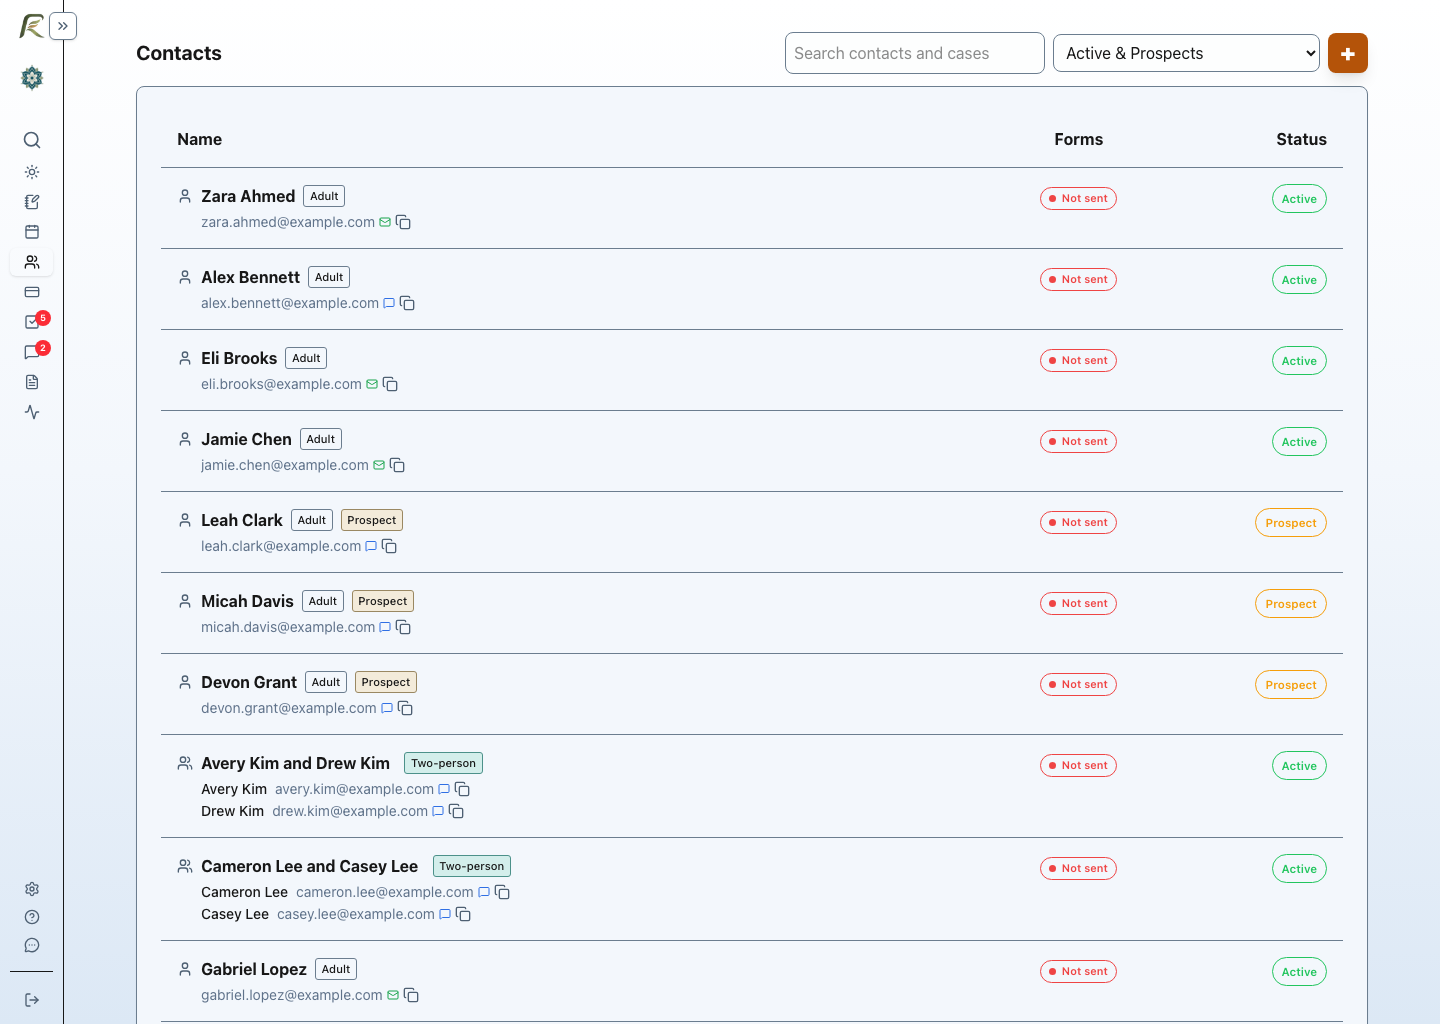
Today
Use Today as the overview for the workday. It puts today’s sessions first, followed by priority attention items and other open work. Open a session directly, move to the calendar, or continue into the full task list when you need more detail.
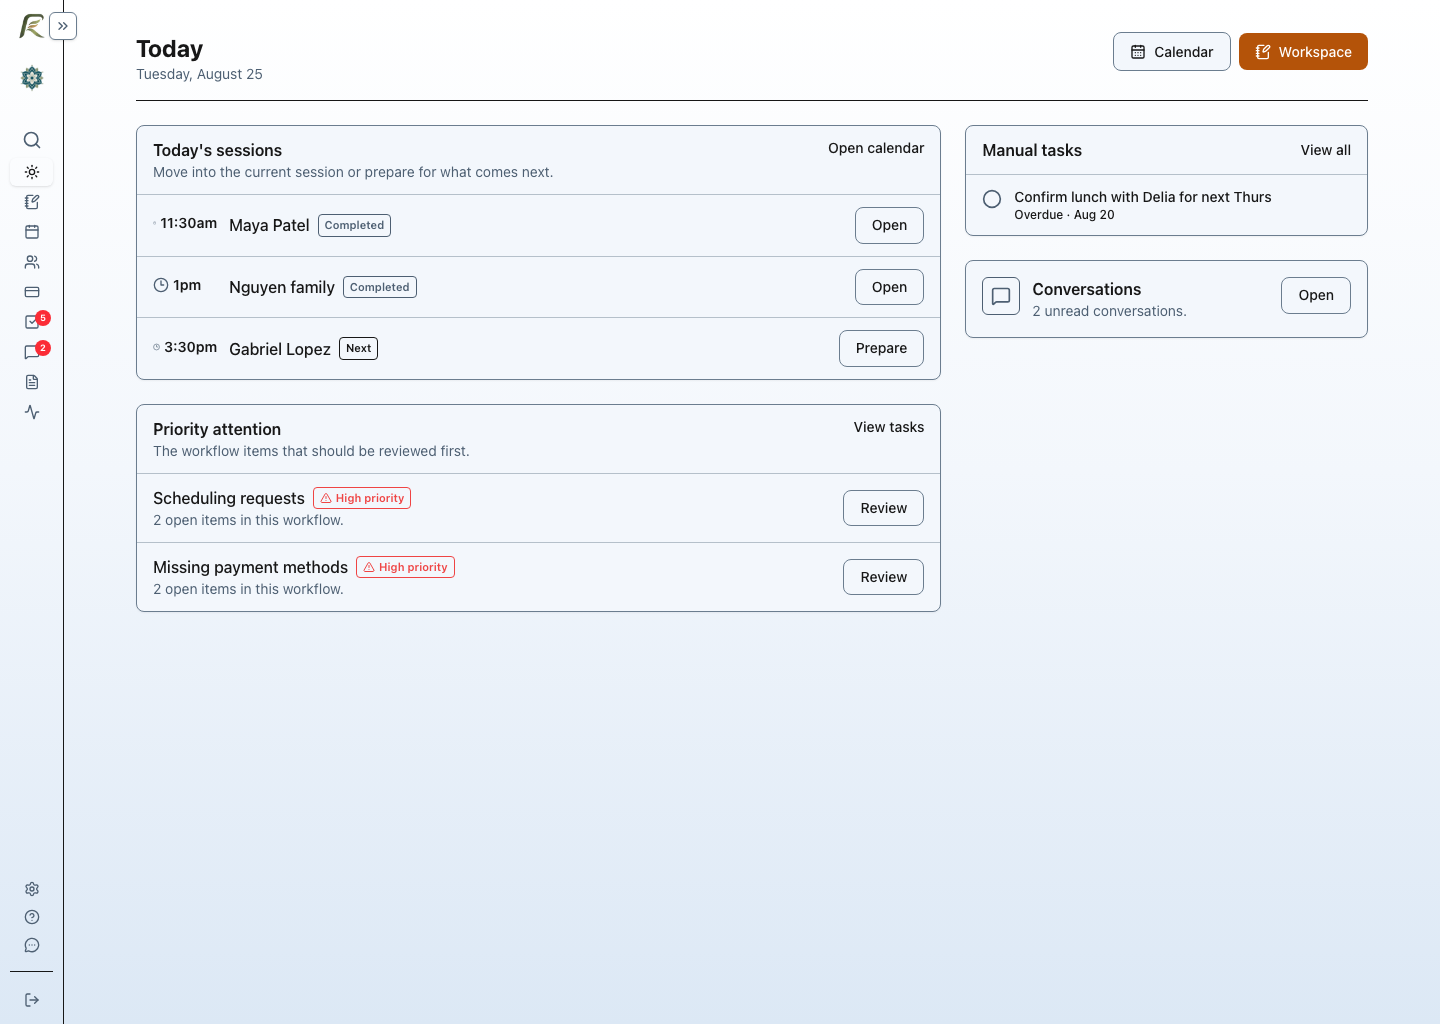
Calendar
Use the calendar to:
- schedule appointments
- see your day, week, or month
- block off time
- open appointment details and billing actions, then continue to the workspace for notes and source material
Session Workspace
Open an appointment from the calendar, then choose Open workspace to keep the work for that appointment together. From the workspace, you can review appointment and case context, move between the day’s sessions, join telehealth when a link is available, work with source material, and write or review the note. Depending on your practice settings, the workspace can also include Session Brief, audio recording, media upload, transcription, and clinician-controlled note drafting.
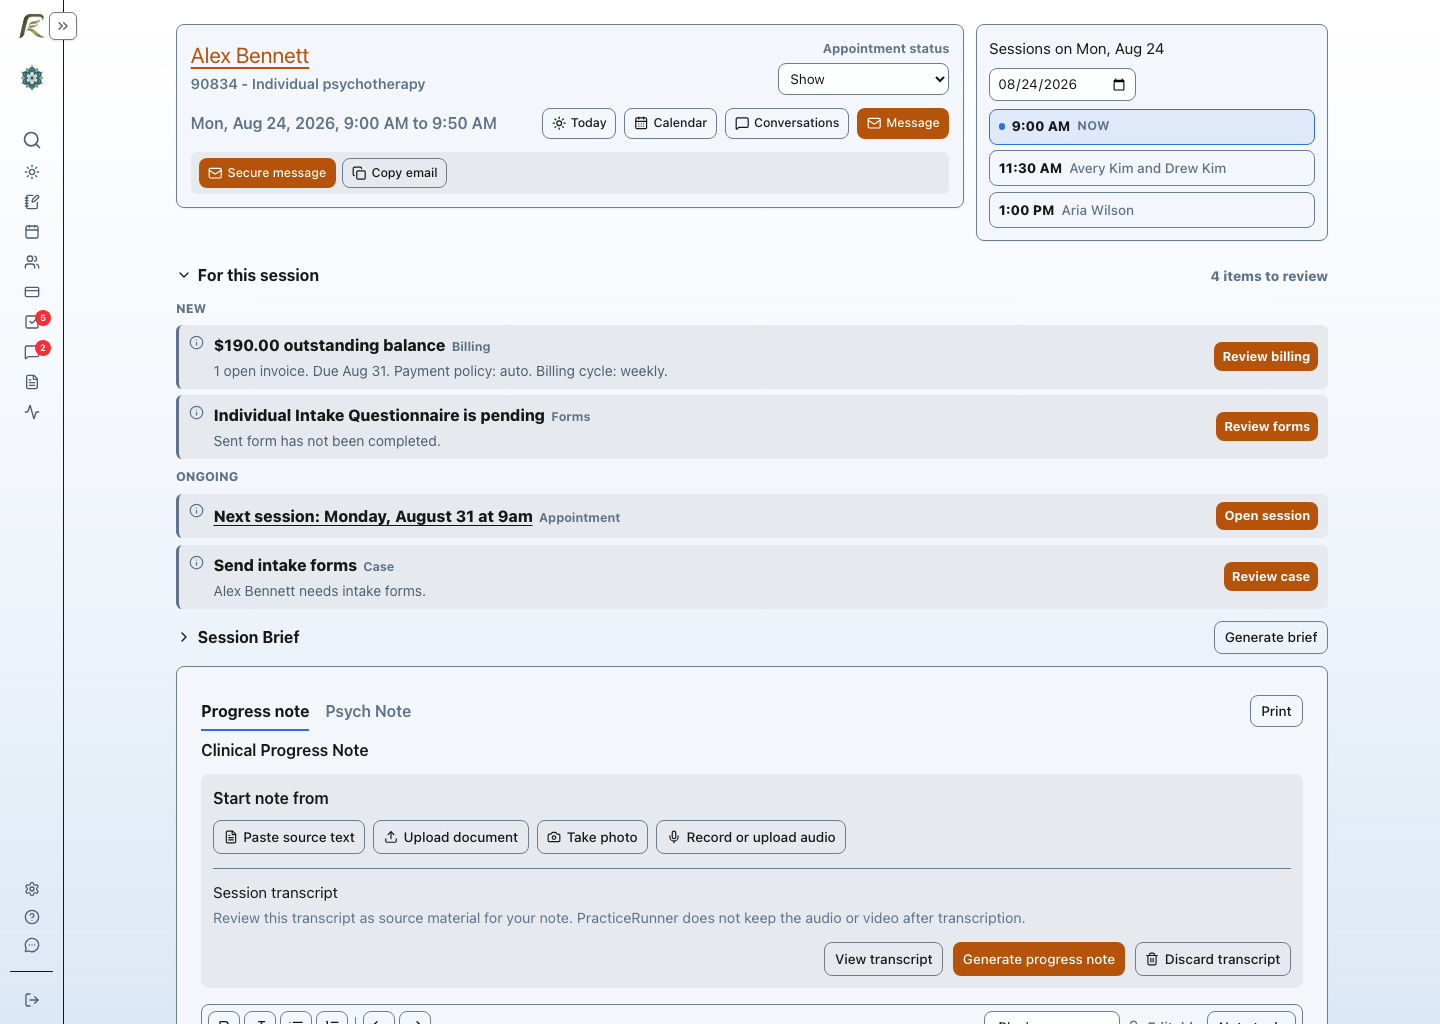
For a complete walkthrough, see Session Workspace and Record Audio.
Search
Use Search in the main menu when you know what you need but do not want to click through several sections. You can also press Cmd+K on Mac or Ctrl+K on Windows or Linux.
Search can find clients and contacts, cases, appointments and calendar dates, invoices, superbills, statements, settings, and help articles. Enter a name, document number, date, setting, or help topic, then select a result to go directly to it.
For more examples, see Searching PracticeRunner.
Clients
Client and case records bring together:
- contact and demographic details
- diagnoses when they apply, notes, and uploaded documents
- forms and signed paperwork
- billing history, invoices, receipts, and superbills when they apply
Billing
Use Billing when you want a practice-wide view of:
- invoices
- payments
- statements
- superbills when they apply
Tasks
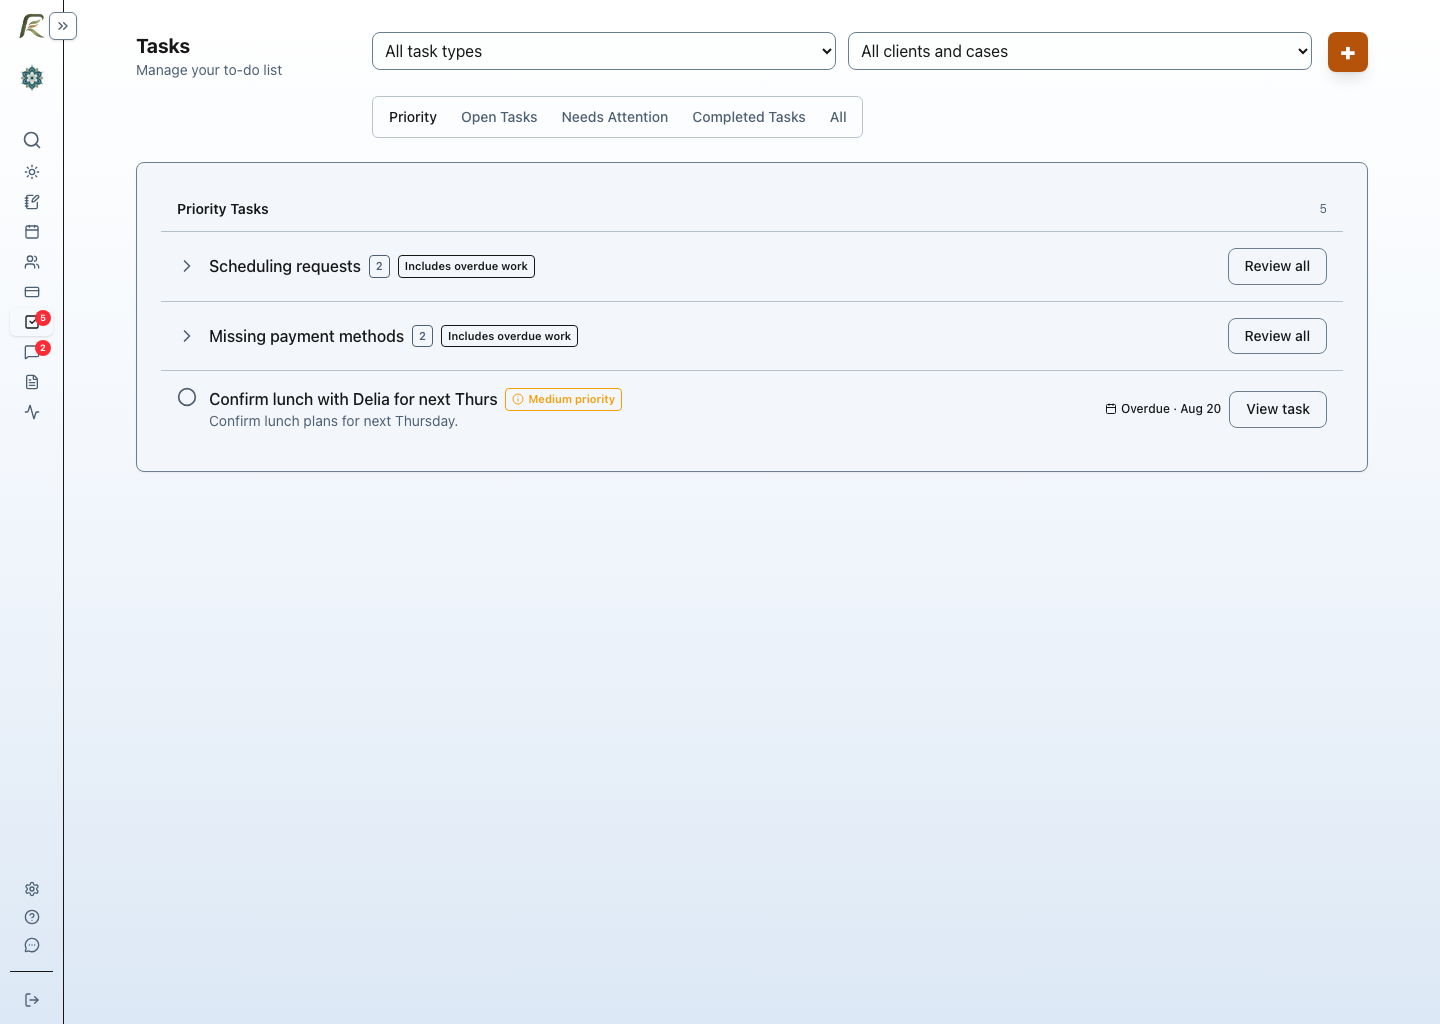
PracticeRunner creates tasks automatically when it notices something that may need attention, such as an unpaid bill or an unsigned supervisee note. You can also add tasks manually for your own follow-up or assign them to another team member. Tasks can stay connected to the relevant client, case, appointment, or other part of the practice so the next step is easier to understand.
Reports
Reports help you review income, attendance patterns, and other practice trends.
Activity
Activity shows a record of important actions inside your organization.
Conversations
Use Conversations to manage secure messages, prospective-client inquiries, appointment requests, and client replies in one place.
Team roles
Owners can invite admins and, on supported plans, associates or additional providers. Admins are for non-clinical practice support such as scheduling, billing, intake, and settings help. When authorized, admins can use Act as Provider to configure provider-specific operational settings while the activity log still records the admin as the person who performed the action.
3. Configuring Your First Settings
Settings includes many practice preferences, but you do not need to configure everything on day one. Start with the areas that shape how clients schedule, complete paperwork, and pay.
Practice profile
Open Settings → Practice to confirm your practice name, primary location, contact details, and any provider information that should appear on client-facing materials.
Email, call, and text apps
Open Settings → Account → Preferences to choose which desktop and mobile apps open when you email, call, or text a contact. The operating-system defaults are the most dependable starting point. See Customize Email, Call, and Text Buttons for Gmail, Google Voice, Zoom Phone, RingCentral, Dialpad, and mobile setup examples.
Services and fees
Open Settings → Practice → Services to add the services you offer. Configure each service’s internal and client-facing names, usual duration, default fee, service type, and procedure code when insurance billing applies. Locations, session formats, online offerings, and provider availability are configured separately.
Insurance-eligible services require a reviewed CPT or HCPCS procedure code before they can be used on insurance billing documents. Consultation services, workshops, and free intake calls use separate service types without psychotherapy insurance workflows. See Setting Up Services, Fees, and Procedure Codes for the complete setup guide.
Billing
Open Settings → Practice → Billing to set invoice and collection defaults, payment methods, bank transfer (ACH) or card availability, and any optional per-session discounts for bank transfers or recorded manual payments. Create reusable payment profiles there when some cases need different payment methods, discounts, or instructions. Assign a profile or customize the collection schedule from the case’s Payment tab. If you plan to accept online payments, connect Stripe before turning on card or bank transfer payment options.
PracticeRunner uses Stripe’s ACH Direct Debit payment method for bank-account payments and normally asks Stripe to enable it automatically. Stripe’s separate Bank Transfers option is not the setting PracticeRunner uses. See Setting Up Stripe for Card and Bank Transfer Payments for the full setup steps and manual fallback.
Portal
Open Settings → Practice → Portal to turn on the client portal for intake, forms, documents, secure messages, appointment reminders, and client calendar feeds. When the portal is enabled, you can copy the portal link and share it with clients who need secure access.
Scheduling
Use the practice Scheduling settings to manage appointment series and online scheduling.
- Settings → Practice → Scheduling controls automatic extension for ongoing appointment series, the practice scheduling link, public scheduling availability, consultation request behavior, buffers, and age rules.
- Settings → Account → Profile → Scheduling Defaults sets the appointment location used when a case does not have its own preferred location. Owners and authorized admins can also set this for clinicians from Settings → Practice → Team.
- Settings → Account → Client Scheduler controls whether you appear in the scheduler, your provider scheduling link, and your provider-level booking limits.
- Calendar → Availability controls the actual times clients can request. Add availability blocks for the services, locations, and session formats you want to offer to prospective and existing clients.
When staff create an appointment without choosing a location, PracticeRunner uses the case’s preferred location first, then the provider default, then the practice default. The appointment can always use a different location for a specific session.
If clients should be able to request or book sessions online, configure the practice scheduler, the provider scheduler, and your calendar availability. After you test the link, add it to your website as a clear call to action such as Book a Session Now, Request a Consultation, or Make an Inquiry.
Ongoing appointment series are kept scheduled about one year ahead by default when Never (1 year) is selected as the end option. A fixed number of sessions or an On date end is not extended. You can turn automatic extension off in Settings → Practice → Scheduling → Appointment Series.
4. Add Your First Clients or Cases
You can start with an individual client, a couple, a family, a therapy group, an individual consultation, a consultation group, or a workshop group. PracticeRunner uses the same core workflow for scheduling, documentation, billing, and communication while still keeping the context of the work clear.
For a broader overview, see One Workflow for Therapy, Consultation, and Group-Based Care and Practice Management for Couples, Families, and Groups.
5. Send Intake or Shared Materials
After the first client or case is created, send only the materials that fit the situation.
- For clients receiving therapy, intake may include profile details, consent documents, policies, payment authorization, and assessment forms.
- For consultation cases, use consultation agreements, payment authorization, scheduling, invoices, receipts, secure messages, and consultation notes. Diagnosis, treatment plans, insurance claims, and superbills are not part of the default consultation workflow.
- For workshop groups, use shared documents and forms for agreements, handouts, registration details, payment authorization, or other non-clinical materials instead of a psychotherapy intake packet.
For more detail, see Send Intake to a Client and Send Forms and Documents to a Client.
6. Use the Session Workspace and Write Notes
Open the appointment from the calendar and choose Open workspace to prepare, review appointment context, use available session actions, and complete documentation. A note can start from pasted text, uploaded documents, camera captures, extracted document text, OCR text from scanned pages or photos, or audio transcription when enabled. You can also write directly, then review, edit, save, sign, or print the note. Clinician-controlled drafting and Revise note tools can help create or clean up a draft when enabled. The clinician should review and complete the final note.
For more detail, see Session Workspace and Record Audio and Notes and Source Material.
7. Find Your Next Step with Search
Open Search from the main menu, or use Cmd+K on Mac and Ctrl+K on Windows or Linux. Search is often the quickest way to return to a client or case, open a billing document, jump to a setting during setup, or find help without leaving your current workflow.
Related articles
- Setting Up Stripe for Card and Bank Transfer Payments
- Setting Up Services, Fees, and Procedure Codes
- Install PracticeRunner for Quicker Access
- One Workflow for Therapy, Consultation, and Group-Based Care
- Practice Management for Couples, Families, and Groups
- Clients and Appointments
- Session Workspace and Record Audio
- Searching PracticeRunner
- Customize Email, Call, and Text Buttons
- Notes and Source Material
- Billing and Payments
- Using the Client Portal
- Admin Role and Acting on Behalf of Providers